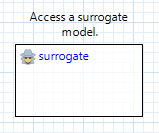
surrogate
The Dakota GUI supports replacing components of NGW workflows with Dakota-generated surrogates files. To do this, drag a “surrogate” node onto the canvas (from the Dakota folder in the Palette).
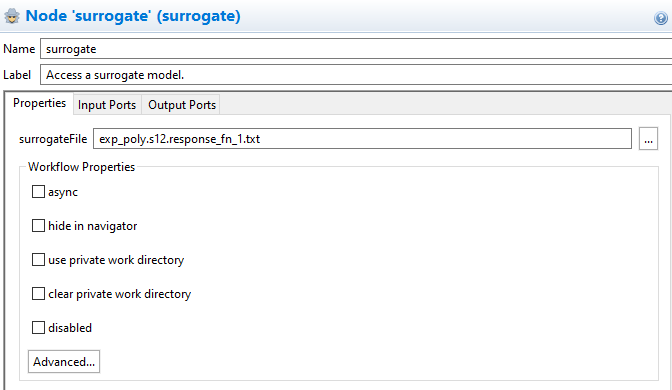
A new surrogate node will have no input or output ports until we associate it with a surrogate file. Open the Settings Editor for the node and select a Dakota surrogate file (both .bin and .txt formats are supported).
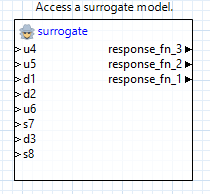
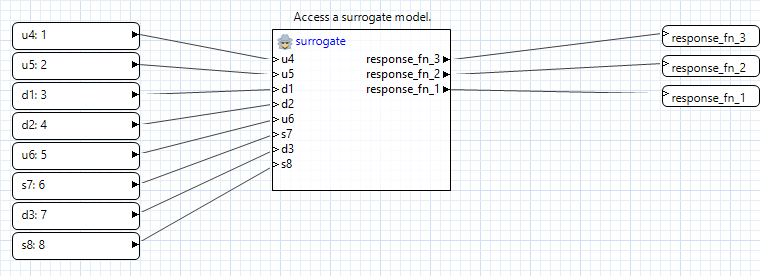
After selecting the surrogate, the node will auto-create the necessary input and output ports to interface with the surrogate as part of a workflow.
To learn more about Dakota surrogates, consult the primary documentation on surrogates in Dakota.